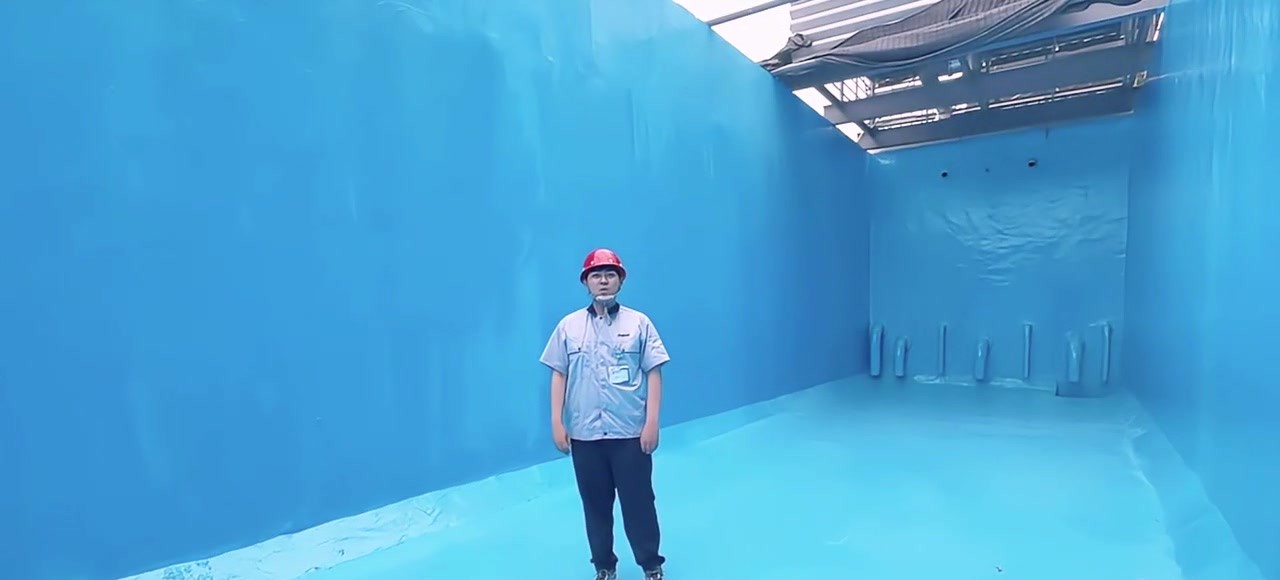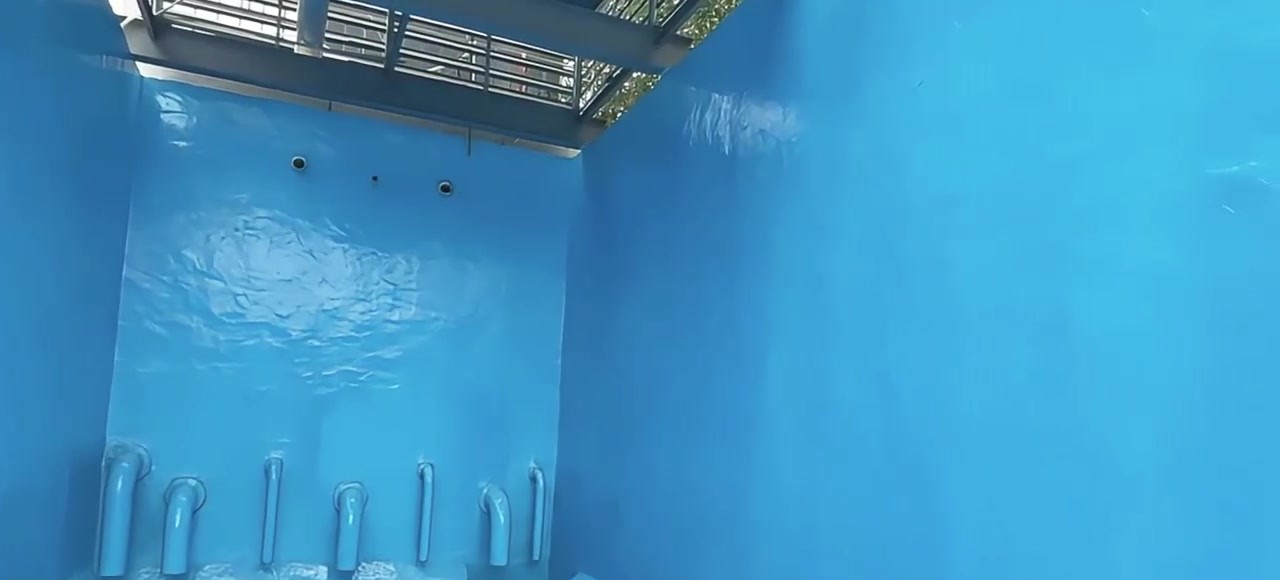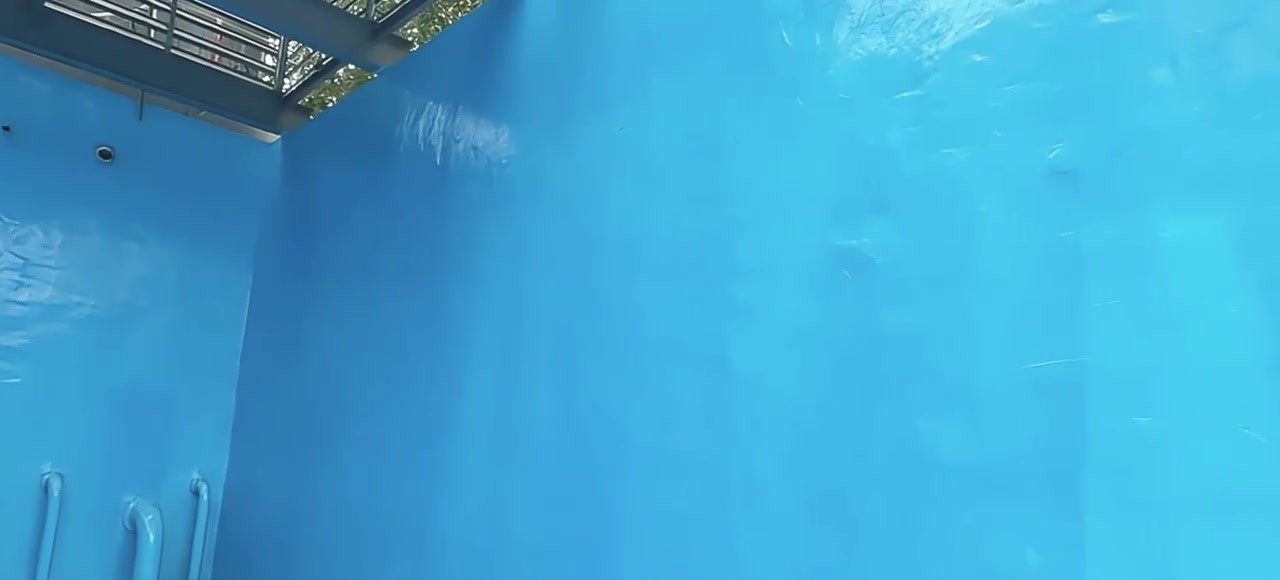
Concrete water tanks lose water through a short list of weak points: shrinkage cracks in the walls, the joint between the floor and the walls, cold joints between pours, the holes left by formwork ties, patches of honeycombed concrete, and the gaps around inlet, outlet and overflow pipes. Water standing against bare concrete also works into the surface over time. A rolled polyaspartic topcoat lines the inside of the tank with one bonded film that covers all of these in a single layer.
This guide covers fire-water reservoirs, rainwater tanks, and process or irrigation water tanks lined with our HZ06 polyaspartic topcoat: how the lining is built, how to prepare and dry an empty tank, the order of the coats, and how long to wait before filling. If your tank holds drinking water, contact us before you order. Linings for potable water need local approval, and we will tell you which documents we can provide.
What a polyaspartic tank lining is
It is a two-layer coating system applied to the inside faces of an empty concrete tank. A penetrating epoxy primer goes on first and bonds to the concrete. A two-component polyaspartic polyurea topcoat then goes on in two thin roller coats and cures into a continuous waterproof lining. Everything is applied with rollers and brushes, so the crew only needs to get tools and material through the access hatch. No spray rig or heat is involved.
What the lining is made of
- Primer for concrete: HD400 waterborne epoxy penetrating primer, 18 + 2 kg sets, mixed 9:1, one coat at about 0.1 kg/m².
- Primer for tiled tanks: HD300 waterborne epoxy penetrating primer, with the same packaging, ratio and coverage, made for ceramic tile.
- Topcoat: HZ06 polyaspartic topcoat, 8 + 4 kg sets, mixed 2:1 by weight, two roller coats at about 0.5 kg/m² in total. It is solvent-free, with 95% solids or more.
How it keeps water in
The primer soaks into the pores of the concrete and gives the topcoat a firm base. The HZ06 topcoat cures into a dense polyurea film that water cannot pass through. Because it goes on as a liquid, the film has no laps or seams, and it carries straight over the floor-to-wall corner, the filled tie holes and the edges of pipe penetrations.
In laboratory testing, the cured film showed no blistering or peeling after 168 hours in water and no change after 48 hours in alkali, which matters on concrete because fresh concrete is strongly alkaline. Adhesion was grade 0 to 1, the film passes a 2 mm bend test, and it reaches Shore D70 hardness, so it is not brittle and stands up to cleaning and foot traffic during maintenance. The topcoat has also been tested by Standard Testing against the Chinese floor coating standard GB/T 22374-2018.
Before you start
Drain the tank and let the concrete dry
The topcoat seals so well that any moisture trapped under it can push it up into blisters. After draining, the concrete must dry out completely, with no standing water in sumps or low spots and no water seeping in through cracks or around pipes. A closed tank dries slowly, so open every hatch and run fans to move air through it.
Check with a simple test: tape a square of clear plastic sheet to the floor and to a wall low down, and leave it overnight, ideally for at least 16 hours. If droplets form under the sheet or the concrete darkens, it is still too wet. Buried tanks and tanks next to wet ground can stay damp from behind, so test the lowest point and the wall that faces the wettest ground.
Plan for working inside an enclosed space
A water tank is an enclosed space. Keep fans running while people are inside, use good lighting, and keep one person outside the hatch at all times. Follow your local rules for confined-space work. The topcoat is solvent-free but has a noticeable smell while it cures. The smell fades within 3 to 5 days, which is one more reason to keep air moving through the tank.
Work out how much material you need
Add the floor area to the wall area. For a rectangular tank, the wall area is the perimeter multiplied by the wall height. On smooth, sound concrete, allow:
| Tank size (L × W × wall height) | Area to coat | Primer (0.1 kg/m²) | HZ06 topcoat, 2 coats (0.5 kg/m²) |
|---|---|---|---|
| 4 × 3 × 2 m | about 40 m² | about 4 kg (1 set of 20 kg) | about 20 kg (2 sets of 12 kg) |
| 10 × 6 × 3 m | about 156 m² | about 16 kg (1 set of 20 kg) | about 78 kg (7 sets of 12 kg) |
| 20 × 10 × 4 m | about 440 m² | about 44 kg (3 sets of 20 kg) | about 220 kg (19 sets of 12 kg) |
Rough or honeycombed concrete and patched areas soak up more material, so order a margin on top of these figures.
Tools
- Grinder or wire brush, scraper, and a vacuum
- Repair mortar for cracks, tie holes and honeycombed patches
- Electric mixer with a paddle
- Standard paint rollers with extension poles, and brushes for corners and pipe penetrations
- Fans and work lights for inside the tank
- Masking tape and plastic sheet for pipes, valves, level gauges and ladders
Step-by-step application
Prepare the concrete
Remove laitance, form oil, scale, algae and any loose or flaking old coating, then grind or wire-brush the surface back to sound concrete. Fill formwork tie holes and honeycombed patches with repair mortar, repair cracks, and pack any gap between the concrete and each pipe. Pay extra attention to the floor-to-wall corner and to cold joints, since that is where most tanks leak. The surface must be sound, dry, clean and free of powdering before the primer goes on. Vacuum the whole tank as the last step.
Protect the fittings
Mask off pipe ends, valves, level gauges and ladders with tape and plastic sheet. Plan the order of work so the crew finishes at the access hatch and never has to cross fresh coating to get out.
Apply the primer
Use HD400 on concrete and HD300 on tile. Add Component B to Component A and mix with an electric mixer for 10 to 20 seconds. You normally do not need to add water. Use the mixed primer within 2 to 4 hours.
Roll the primer evenly over the walls and floor at about 0.1 kg/m², brushing it into corners and around pipes. Avoid missed patches and avoid puddles on the floor. Wait at least 2 to 4 hours, until it is dry to the touch and does not stick underfoot.
Roll the first topcoat coat
Stir Component A, add Component B and mix with an electric mixer for 10 to 30 seconds. The mixed topcoat must be used within about 20 minutes, so mix one set at a time.
Brush around every pipe penetration and into the floor-to-wall corner first. Then roll the walls from top to bottom, starting at the wall farthest from the hatch, and finish with the floor, working back toward the exit. Keep the first coat thin: it only needs to hide the primer. Slight colour variation at this stage is normal.
Roll the second coat
Wait at least 2 to 4 hours, until the first coat does not stick underfoot. Roll the second coat evenly over the whole tank in the same order. The two coats together use about 0.5 kg/m².
Inspect before you leave the tank
With a work light held low against the surface, check the corners, the edges of filled tie holes and the coating around every pipe. These are the places where rollers leave thin spots or pinholes. Touch up anything you find with a small fresh batch while the tank is still open.
Cure before filling
Keep everyone out of the tank and keep the fans running. The topcoat is firm enough to walk on after about 24 hours, but a water tank will sit full around the clock, so let the lining cure for 3 to 5 days before you fill it. Allow longer in cold weather. Then remove the masking and fill the tank.
Common mistakes and how to avoid them
- Coating damp concrete. This is the main cause of blisters. Test the lowest point first, and remember that a closed tank can also collect condensation overnight.
- Leaving tie holes and honeycombing open. The film will not bridge a hole that goes deep into the wall, so fill and level these first.
- Skipping the gaps around pipes. A perfect lining still leaks if water can travel along the outside of a pipe behind it.
- Working without airflow. Poor ventilation makes the tank unpleasant and unsafe to work in.
- Mixing too much topcoat at once. With about 20 minutes of working time, mix one set at a time.
- Filling too early. Water on a lining that has not fully cured can damage it permanently.
Why use a polyaspartic topcoat in a water tank
- It goes on with rollers through an ordinary access hatch, with no spray rig or heat inside an enclosed space.
- It forms one film with no laps or seams for water to work through.
- It is solvent-free, with 95% solids or more.
- The primer and both topcoat coats can usually go on within one or two working days, because the coats are only 2 to 4 hours apart.
For how the chemistry works, see What Is Polyaspartic Polyurea Topcoat and How Does It Work?. For the same system on other structures, see How to Waterproof a Swimming Pool with a Polyaspartic Topcoat and How to Waterproof a Concrete Roof with a Polyaspartic Topcoat.
Get a quote for your tank
Send us the tank’s inside dimensions, what it stores, whether it is above ground or buried, any existing coating, and the project location. We will reply with primer and topcoat quantities and a quote. You can also order a sample kit to test on a small area first. Full specifications are on the HZ06 polyaspartic waterproof topcoat product page.
Ahonesty | WhatsApp: +853 6649 6268 | Email: shawn@ahonestymaterial.com