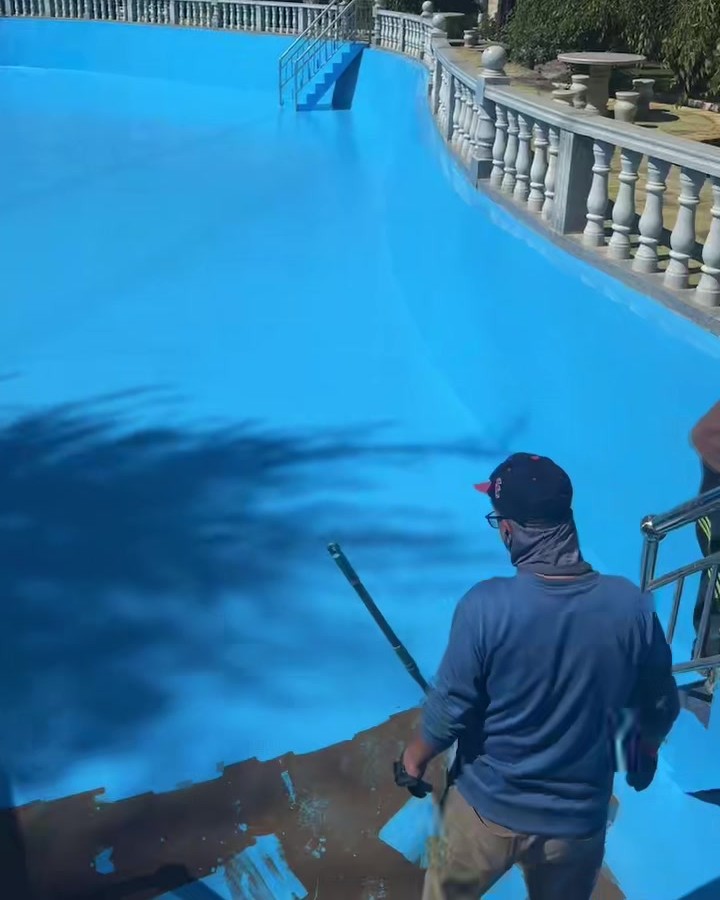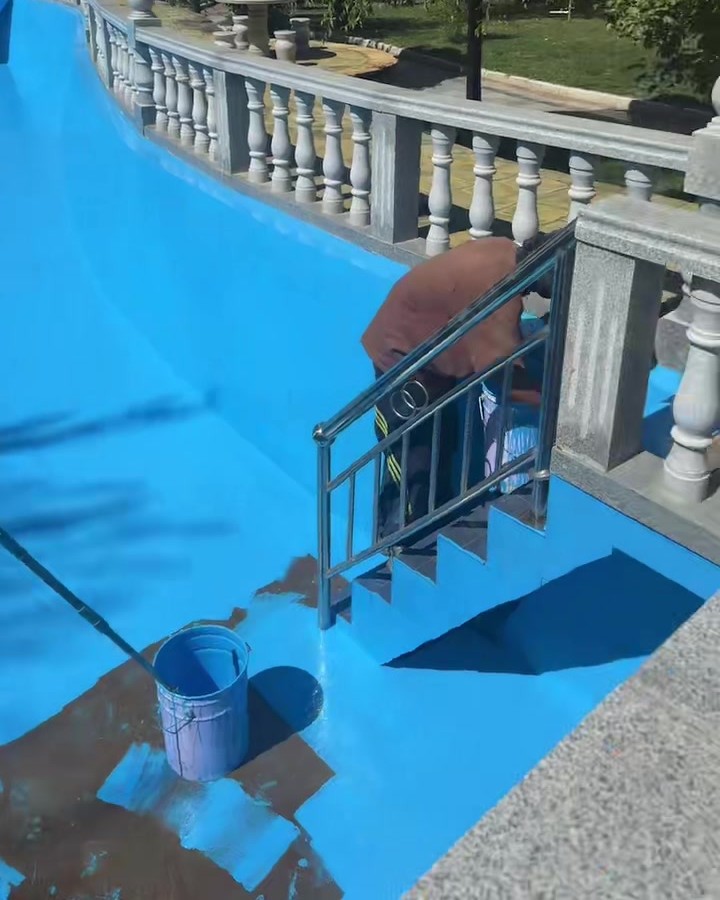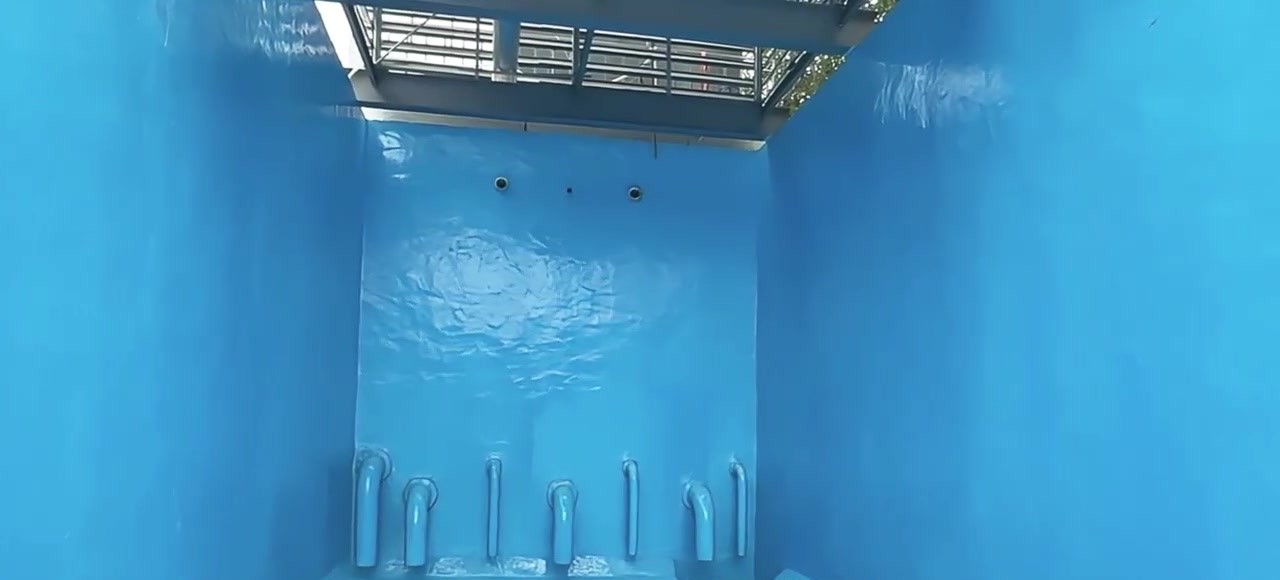
A concrete pool loses water in a few familiar places: hairline cracks in the shell, the joint where the floor meets the walls, tile grout, and the gaps around skimmers, inlets, lights and drains. Paint on an old pool usually fails first in the same spots, blistering and peeling until the shell underneath is open again. A rolled polyaspartic topcoat covers the whole inside of the pool with one bonded, seamless film, including those weak points.
This guide covers the full job with our HZ06 polyaspartic topcoat: how the system is built, how to prepare an empty pool, the order of the coats, the anti-slip finish for steps and shallow areas, and how long to wait before filling.
What a polyaspartic pool waterproofing system is
It is a coating system applied to the inside of an empty pool. A penetrating epoxy primer goes on first and bonds to the concrete or tile. A two-component polyaspartic polyurea topcoat then goes on top in two thin roller coats and cures into a continuous waterproof lining. Where people walk, on steps, benches and the shallow end, an anti-slip topcoat and anti-slip clear coat can be added. Everything goes on with rollers and brushes, so you do not need a spray rig or any heat.
What the system is made of
- Primer for concrete and render: HD400 waterborne epoxy penetrating primer, 18 + 2 kg sets, mixed 9:1, one coat at about 0.1 kg/m².
- Primer for tiled pools: HD300 waterborne epoxy penetrating primer, same packaging, ratio and coverage, made for ceramic tile and marble.
- Topcoat: HZ06 polyaspartic topcoat, 8 + 4 kg sets, mixed 2:1 by weight, two roller coats at about 0.5 kg/m² in total. It is solvent-free, with 95% solids or more.
- Anti-slip finish (optional): HZ06 anti-slip topcoat in place of the standard topcoat, followed by HQ06 anti-slip clear coat, 2 + 3 kg sets, mixed 1:1.5, two coats at about 0.3 kg/m².
How it keeps water in the pool
The primer soaks into the pores of the concrete, or grips the glazed face of the tile, and gives the topcoat a firm base. The HZ06 topcoat cures into a dense polyurea film that water cannot pass through. Because it is rolled on as a liquid, the film has no joints, and it carries straight over the floor-to-wall corner, the grout lines and the edges of fittings.
In laboratory testing, the cured film showed no blistering or peeling after 168 hours in water, no change after 48 hours in alkali, and adhesion of grade 0 to 1. It has Shore D70 hardness and a 50 kg·cm impact rating, so it stands up to foot traffic. The aliphatic hardener keeps the colour from yellowing in the sun, which matters on an outdoor pool with a light blue finish.
The water test above is a plain water immersion test. If your pool runs on salt chlorination or unusually heavy chlorine dosing, tell us when you ask for a quote so we can talk it through before you order.
Before you start
Drain the pool and let the shell dry
The topcoat seals so well that any moisture trapped under it can push it up into blisters. After draining, give the shell time to dry out completely. There must be no standing water in the deep end, no damp patches and no water seeping in through cracks or fittings.
Check with a simple test: tape a square of clear plastic sheet to the floor and to a wall low down in the deep end, and leave it overnight, ideally for at least 16 hours. If droplets form under the sheet or the surface darkens, the shell is still too wet. In-ground pools in areas with high groundwater can stay damp from behind for a long time, so test the lowest point.
Check the weather
Plan the work for a dry spell. The topcoat must not get wet before it cures, and rain on the fresh film can damage it permanently. In winter the coating takes longer to harden, so allow extra days and do not work in rain or snow.
Work out how much material you need
Add the floor area to the wall area. For a rectangular pool, the wall area is the perimeter multiplied by the average depth. On a smooth, sound surface, allow:
| Pool size (L × W × average depth) | Area to coat | Primer (0.1 kg/m²) | HZ06 topcoat, 2 coats (0.5 kg/m²) |
|---|---|---|---|
| 8 × 4 × 1.4 m | about 66 m² | about 7 kg (1 set of 20 kg) | about 33 kg (3 sets of 12 kg) |
| 10 × 5 × 1.5 m | about 95 m² | about 10 kg (1 set of 20 kg) | about 48 kg (4 sets of 12 kg) |
| 25 × 10 × 1.5 m | about 355 m² | about 36 kg (2 sets of 20 kg) | about 178 kg (15 sets of 12 kg) |
Rough render, open grout lines and patched areas soak up more material, so order a margin on top of these figures. For the anti-slip finish, one 5 kg set of HQ06 clear coat covers about 16 m² in two coats.
Tools
- Grinder or wire brush, scraper, and a vacuum or blower
- Repair mortar for cracks, hollow spots and damaged edges
- Electric mixer with a paddle
- Standard paint rollers with extension poles, and brushes for corners, steps and fittings
- Masking tape and plastic sheet to cover lights, inlets, skimmer openings, ladders and the coping
Step-by-step application
Prepare the shell
Remove loose and flaking paint, laitance, algae, scale and dirt. On a tiled pool, replace loose or hollow-sounding tiles and fill any missing grout. Repair cracks, holes and broken edges with repair mortar, and pay extra attention to the floor-to-wall corner and the area around every fitting, since that is where most pools leak. The surface must be sound, dry, clean and free of powdering before the primer goes on. Vacuum the whole pool as the last step.
Protect the fittings
Mask off lights, inlets, skimmer mouths, main drain covers, ladders and the coping with tape and plastic sheet. Put up signs so nobody walks into the empty pool while you work.
Apply the primer
Use HD400 on concrete or render and HD300 on tile. Add Component B to Component A and mix with an electric mixer for 10 to 20 seconds. You normally do not need to add water. Use the mixed primer within 2 to 4 hours.
Roll the primer evenly over the walls and floor at about 0.1 kg/m², brushing it into corners and around fittings. Avoid both missed patches and thick puddles in the deep end. Wait at least 2 to 4 hours, until it is dry to the touch and does not stick underfoot.
Mix and roll the first topcoat coat
Stir Component A, add Component B and mix with an electric mixer for 10 to 30 seconds. The mixed topcoat must be used within about 20 minutes, so mix one set at a time.
Start at the deep end and work back toward the steps so you never have to cross fresh coating to get out. Roll the walls from top to bottom, then the floor. Keep the first coat thin: it only needs to hide the primer. Slight colour variation at this stage is normal.
Roll the second coat
Wait at least 2 to 4 hours, until the first coat does not stick underfoot. Roll the second coat evenly over the whole pool in the same order, checking corners, steps and the edges of fittings for missed spots. The two coats together use about 0.5 kg/m².
Add the anti-slip finish where people walk
Wet steps and sloping floors are slippery, so we recommend the anti-slip system on steps, benches, the shallow end and any sloped entry. On those areas, use HZ06 anti-slip topcoat for the two coats above. Then roll two thin coats of HQ06 anti-slip clear coat, mixed 1:1.5 and used within 15 to 20 minutes, waiting 2 to 4 hours between coats.
Cure before filling
Keep everyone out of the pool, keep the area ventilated and keep rain off the new coating. The topcoat is firm enough to walk on after about 24 hours, but a pool will sit under water around the clock, so let the system cure for 3 to 5 days before you fill it. Allow longer in cold weather. Then remove the masking and fill the pool.
The coating has a noticeable smell while it cures. It fades within 3 to 5 days, which on an indoor pool is another reason to keep the hall well ventilated during the curing period.
Common mistakes and how to avoid them
- Coating a damp shell. This is the main cause of blisters. Test the deep end before you start.
- Skipping repairs around fittings. A perfect coating will still leak if the gap around an inlet or light niche is open behind it.
- Using the concrete primer on tile. Glazed tile needs HD300, not HD400.
- Mixing too much topcoat at once. With about 20 minutes of working time, mix one set at a time.
- Painting yourself into the deep end. Plan the route so you finish at the steps.
- Filling too early. Water on a coating that has not fully cured can damage it permanently.
Why use a polyaspartic topcoat on a pool
- It is rolled on by a small crew with ordinary tools, which suits a pool full of curves, steps and corners.
- It can go straight over sound old tiles with the HD300 primer, so you do not have to strip the pool back to concrete.
- The finished film has no grout lines or laps for water to work through.
- The colour stays stable in the sun.
For a closer look at the chemistry, see What Is Polyaspartic Polyurea Topcoat and How Does It Work?. For a comparison with other coatings, see Why Choose Our Polyaspartic Topcoat?, and for roofs, see How to Waterproof a Concrete Roof with a Polyaspartic Topcoat.
Get a quote for your pool
Send us the pool size and depth, whether the surface is concrete, render or tile, any existing coating, and the project location. We will reply with primer, topcoat and anti-slip quantities, colour options and a quote. You can also order a sample kit to test on a small area first. Full specifications are on the HZ06 polyaspartic waterproof topcoat product page.
Ahonesty | WhatsApp: +853 6649 6268 | Email: shawn@ahonestymaterial.com