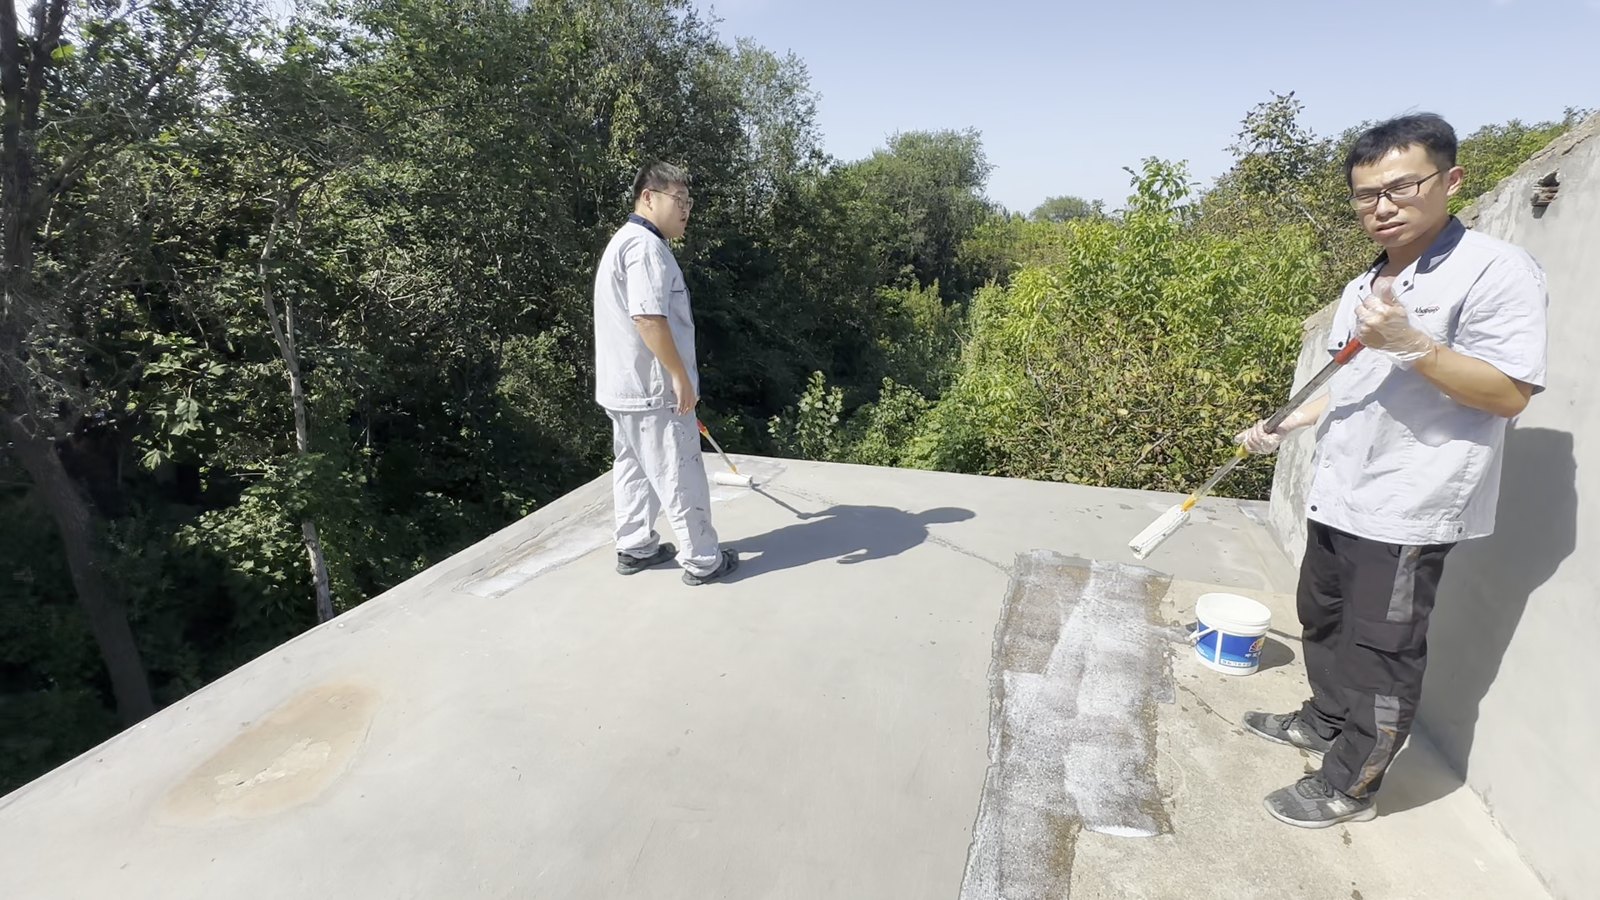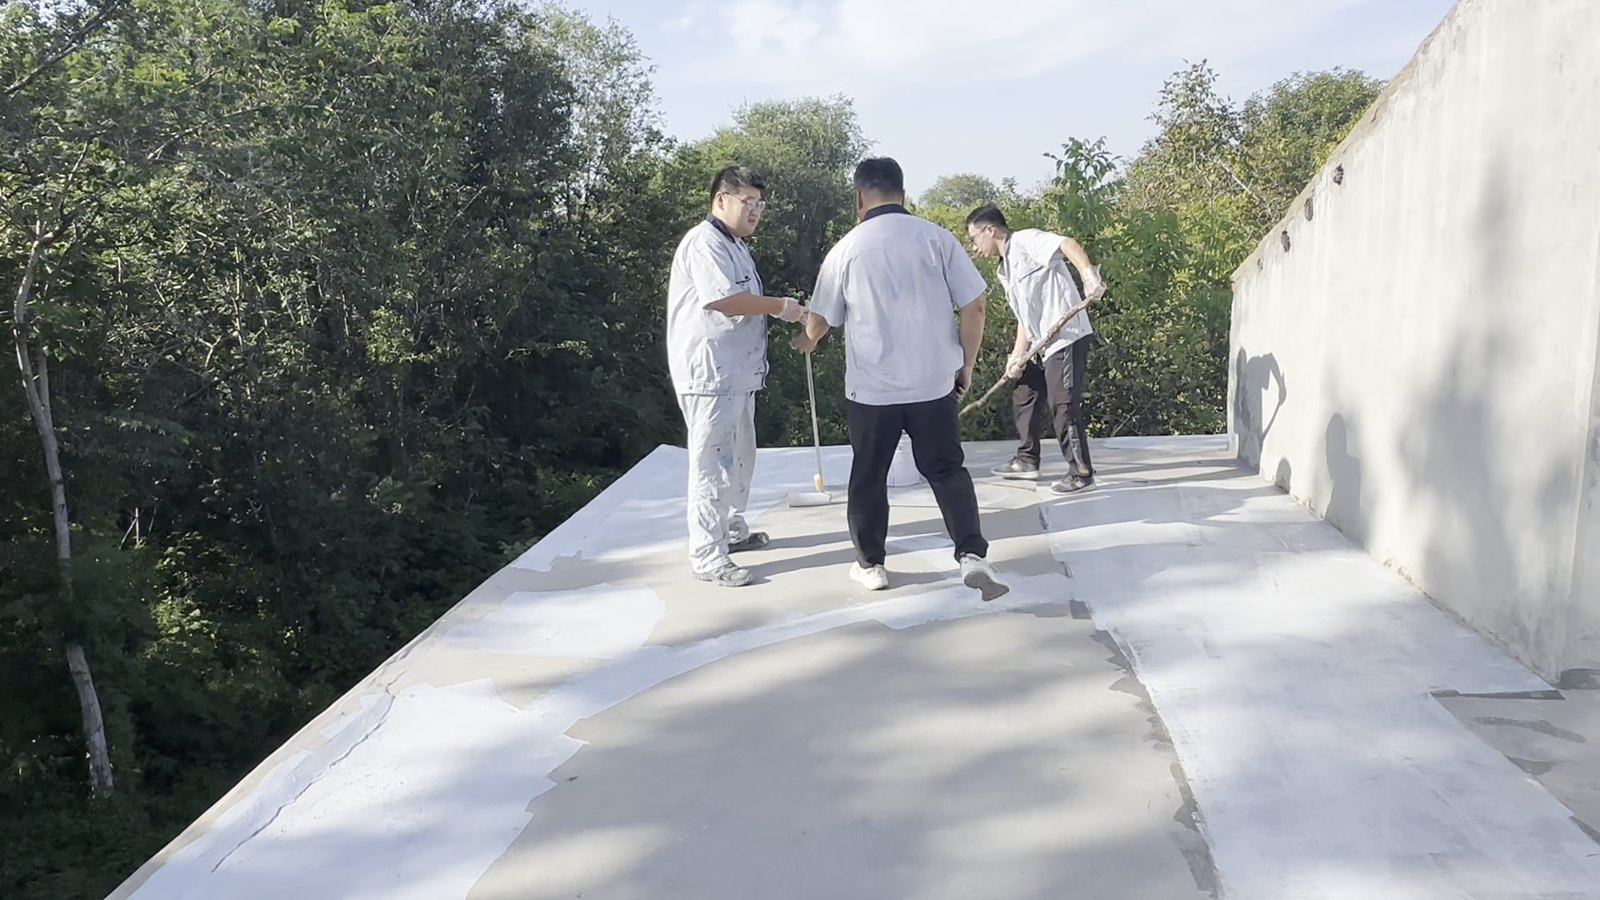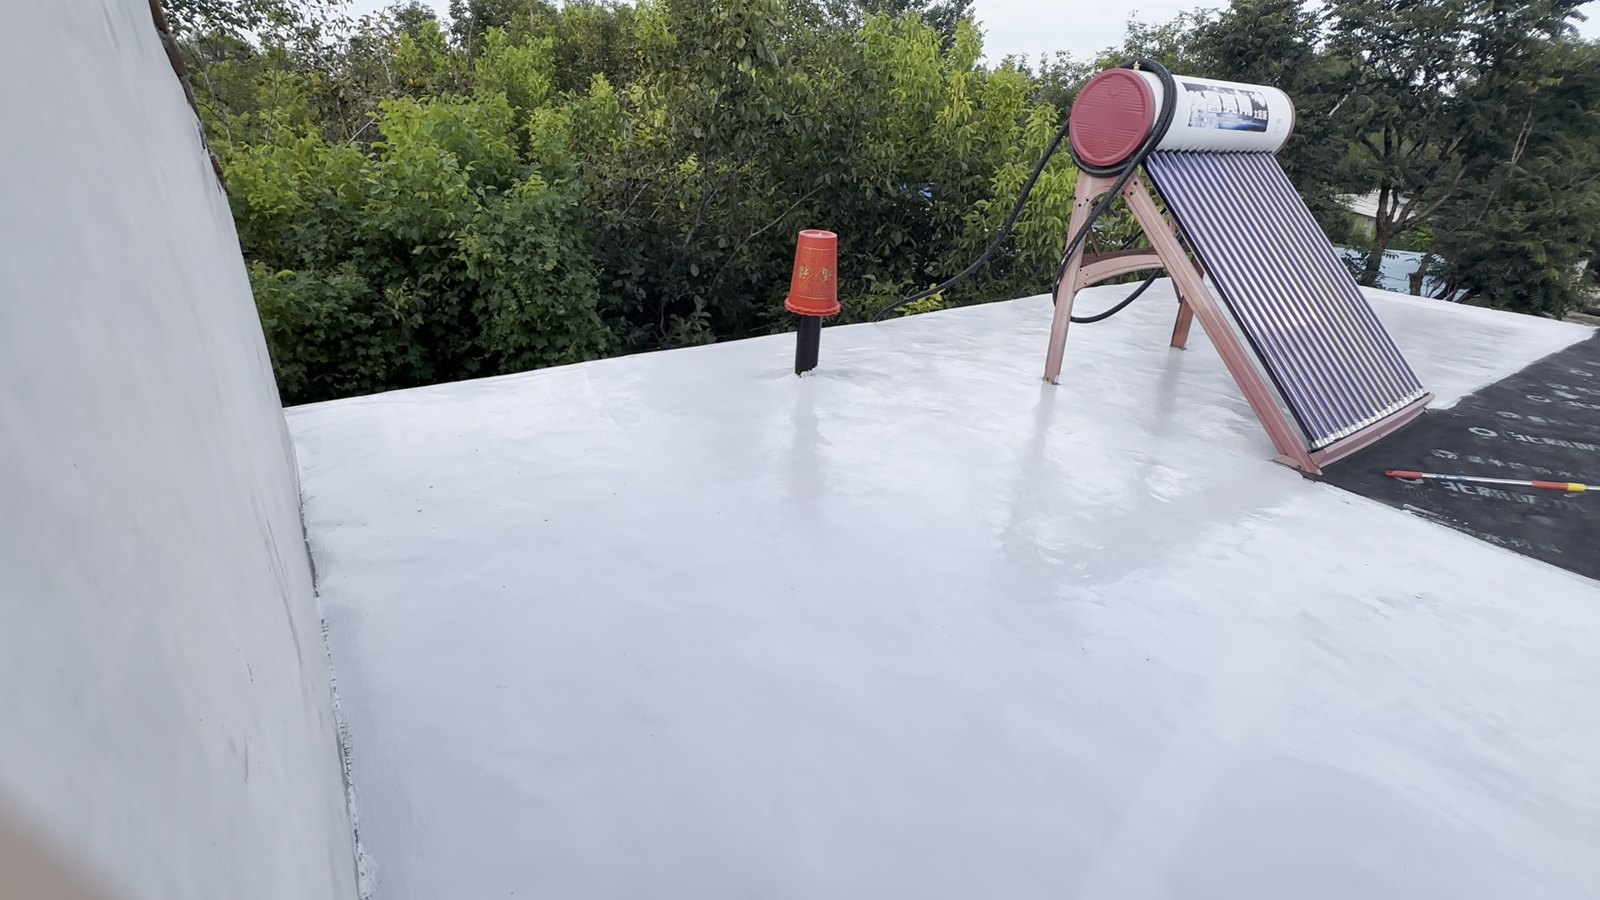
A flat concrete roof leaks for a few predictable reasons. Hairline cracks open and close with the seasons, water ponds in low spots, old coatings chalk in the sun, and membranes split at their laps and around drains and pipes. A rolled polyaspartic topcoat deals with all of these by covering the roof with one seamless, bonded film that has no laps at all.
Below is the full job on a concrete roof with our HZ06 polyaspartic topcoat and HD400 primer, from ordering material and preparing the slab to the final cure, along with the mistakes behind most failures.
What a polyaspartic roof waterproofing system is
A polyaspartic roof waterproofing system is a two-layer coating applied directly to the concrete slab. A penetrating epoxy primer seals the concrete and gives the topcoat something to grip. A two-component polyaspartic polyurea topcoat then forms the waterproof, UV-stable finish. The whole system is applied with rollers and needs no torch, no spray rig and no heat.
What the system is made of
- HD400 waterborne epoxy penetrating primer. It comes in 18 + 2 kg sets, mixed 9:1, and is rolled on in one coat at about 0.1 kg/m².
- HZ06 polyaspartic topcoat. It comes in 8 + 4 kg sets, mixed 2:1 by weight, and is rolled on in two coats at about 0.5 kg/m² in total. It is solvent-free, with 95% solids or more.
How it keeps water out
The primer soaks into the surface pores of the concrete and bonds to it. The topcoat cures on top of the primer into a dense polyurea film that water cannot pass through. Because the film is continuous, there are no seams or fixings for water to track along, and it follows upstands, drains and pipe penetrations in one piece. The aliphatic hardener in HZ06 keeps the film from yellowing and chalking in the sun, so the top surface does not break down the way an epoxy or aromatic coating would.
In testing, the cured HZ06 film showed no blistering or peeling after 168 hours in water, no change after 48 hours in alkali, and adhesion of grade 0 to 1. It is hard enough to walk on (Shore D70) and passes a 50 kg·cm impact test.
Before you start
Check the weather
Do not start in rain or when rain is likely within the next day. The topcoat must not get wet before it has cured, and water on the fresh film can damage it permanently. In winter, allow 1 to 2 days of curing instead of 24 hours, do not work during rain or snow, and keep melting snow off the new coating for at least a day.
Check that the slab is dry
The topcoat is so watertight that moisture trapped underneath can push it up into blisters. The slab must be dry, with no standing water and no damp patches. A simple field check is to tape a square of clear plastic sheet to the concrete and leave it overnight, ideally for at least 16 hours. If droplets form under the sheet or the concrete darkens, the slab is still too wet.
Work out how much material you need
For a smooth, level slab, allow:
| Roof area | HD400 primer (0.1 kg/m²) | HZ06 topcoat, 2 roller coats (0.5 kg/m²) |
|---|---|---|
| 50 m² | about 5 kg (1 set of 20 kg) | about 25 kg (3 sets of 12 kg) |
| 100 m² | about 10 kg (1 set of 20 kg) | about 50 kg (5 sets of 12 kg) |
| 300 m² | about 30 kg (2 sets of 20 kg) | about 150 kg (13 sets of 12 kg) |
| 500 m² | about 50 kg (3 sets of 20 kg) | about 250 kg (21 sets of 12 kg) |
Rough, porous or uneven concrete takes more material, so order a margin on top of these figures.
Tools
- Floor grinder or wire brush, and a vacuum or blower
- Repair mortar for cracks and holes
- Electric mixer with a paddle
- Standard paint rollers with extension poles, and brushes for corners and around pipes
- Plastic sheet and masking tape to protect walls, solar heaters and fixtures
Step-by-step application
Prepare the surface
Grind, repair and level the concrete as needed. Remove loose material, laitance, old flaking coatings, oil and dust. Fill cracks, holes and low spots with repair mortar so water cannot pond. The surface must be level, dry, clean and free of chalking or powdering before any coating goes on. Vacuum or blow the roof clean as the last step.
Protect the surroundings
Cover parapet walls, solar heaters, pipes and anything else you do not want coated with plastic sheet or masking tape. Put up warning signs so nobody walks onto the work area.
Apply the HD400 primer
Add Component B to Component A and mix with an electric mixer for 10 to 20 seconds. Under normal conditions you do not need to add water. Use the mixed primer within 2 to 4 hours.
Roll the primer evenly over the whole slab at about 0.1 kg/m². Avoid missed patches and avoid heavy build-up. Then wait at least 2 to 4 hours, depending on site conditions, until the primer is dry to the touch and does not stick underfoot.
Mix the HZ06 topcoat
Open both components, add Component B to Component A and mix with an electric mixer for 10 to 30 seconds. Once mixed, the topcoat must be used within about 20 minutes, so mix only as much as the crew can roll out in that time.
Roll the first coat
Roll the first coat with a standard roller. Keep it thin: it only needs to cover the substrate so no grey concrete shows through. Slight colour variation at this stage is normal. Brush the corners, upstands and around drain outlets and pipes as you go.
Roll the second coat
Wait at least 2 to 4 hours, until the first coat does not stick underfoot. Then roll the second coat evenly over the whole roof, making sure there are no missed areas and no colour differences. The two coats together use about 0.5 kg/m².
If you prefer a squeegee, the topcoat can instead go on in a single coat of about 0.35 kg/m², poured in small batches and spread evenly with a flat squeegee, avoiding bubbles and build-up.
Let it cure
Keep people and heavy objects off the roof, keep it ventilated and keep rain off it for at least 24 hours. In winter, extend this to 1 to 2 days. Remove the protective sheets and open the roof to traffic only once the coating has fully cured.
Inspect the finished roof
Before the protective sheets come off, walk the edges of the roof and look at the coating in low, angled light. Check around drains, pipes, upstands and the bases of fixtures, where rollers often miss. Touch up any thin or missed spots with a small fresh batch while you still have the roof closed off.
Common mistakes and how to avoid them
- Coating a damp slab. This is the most common cause of blisters. Check the slab first and wait if in doubt.
- Mixing too much topcoat at once. With about 20 minutes of working time, a large batch can start to thicken in the pail. Mix one set at a time.
- Rolling the first topcoat coat too thick. A thin, even first coat cures better and gives a smoother finish after the second coat.
- Skipping the primer. On bare concrete the primer is what bonds the system to the slab.
- Leaving low spots. Level the slab during preparation so rainwater drains away instead of standing on the roof.
- Opening the roof too early. Rain or foot traffic on a coating that has not cured can damage it.
Why a polyaspartic roof coating suits flat roofs
- No torch, no spray rig and no heavy equipment, so a small crew can do the job safely.
- No laps or seams, which is where sheet membranes usually fail.
- The finished surface stays its colour in the sun and is hard enough for maintenance foot traffic.
- With 2 to 4 hours between layers, the primer and both topcoat coats can usually go on within one or two working days, weather permitting.
For a full comparison with acrylic, polyurethane, epoxy and spray polyurea, see Why Choose Our Polyaspartic Topcoat?. For how the chemistry works, see What Is Polyaspartic Polyurea Topcoat and How Does It Work?.
Get a quote for your roof
Send us the roof area, the condition of the concrete, any existing coating and the project location. We will reply with the primer and topcoat quantities, colour options and a quote. You can also order a sample kit to try on a section of roof first. Full specifications are on the HZ06 polyaspartic waterproof topcoat product page.
Ahonesty | WhatsApp: +853 6649 6268 | Email: shawn@ahonestymaterial.com